
System Requirements

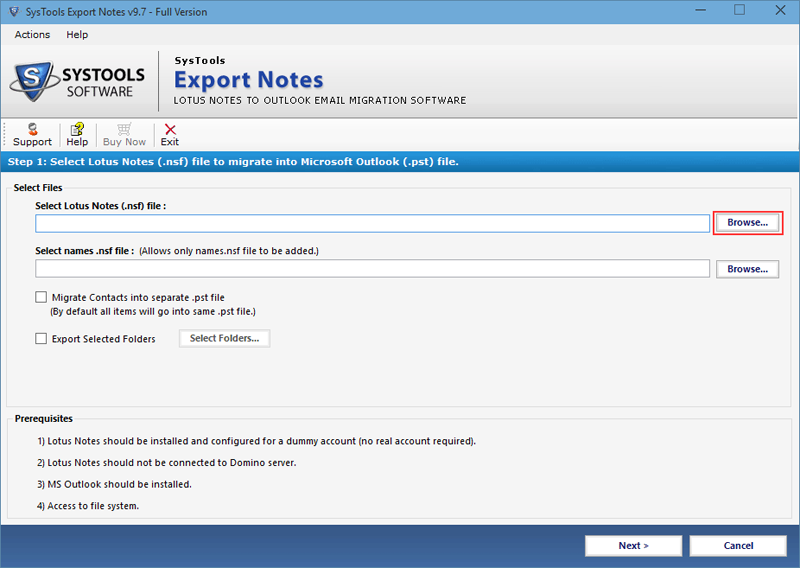
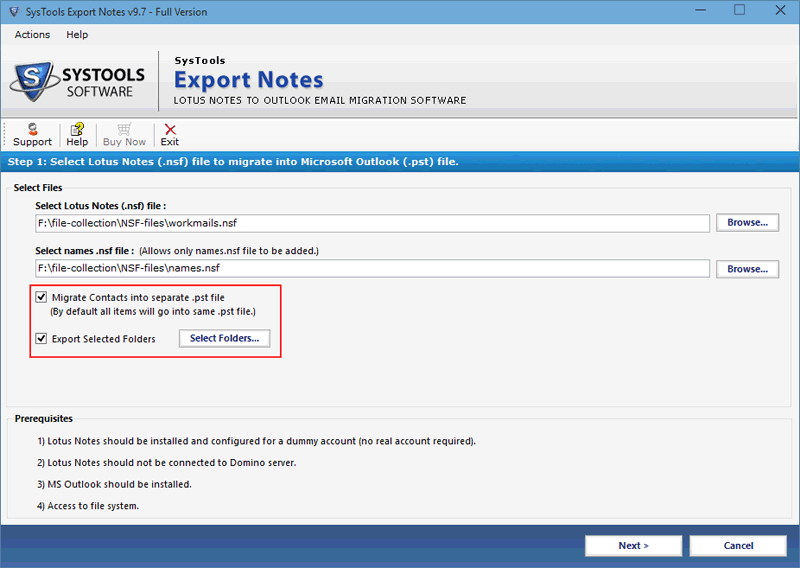
First of all Download the software and click on Browse Button to locate the NSF file
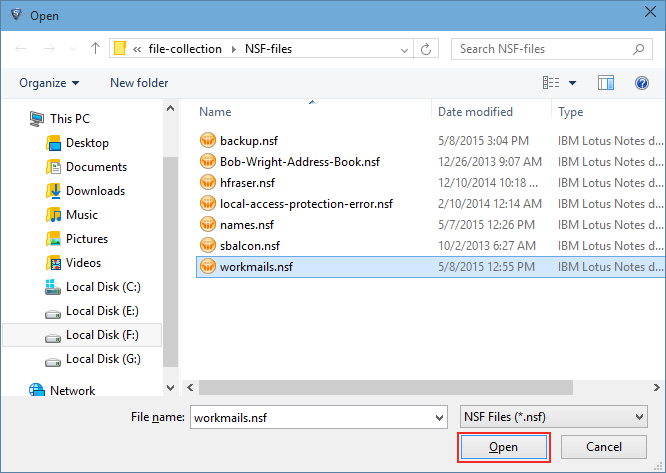
After selecting the correct NSF file click on Open to start the process
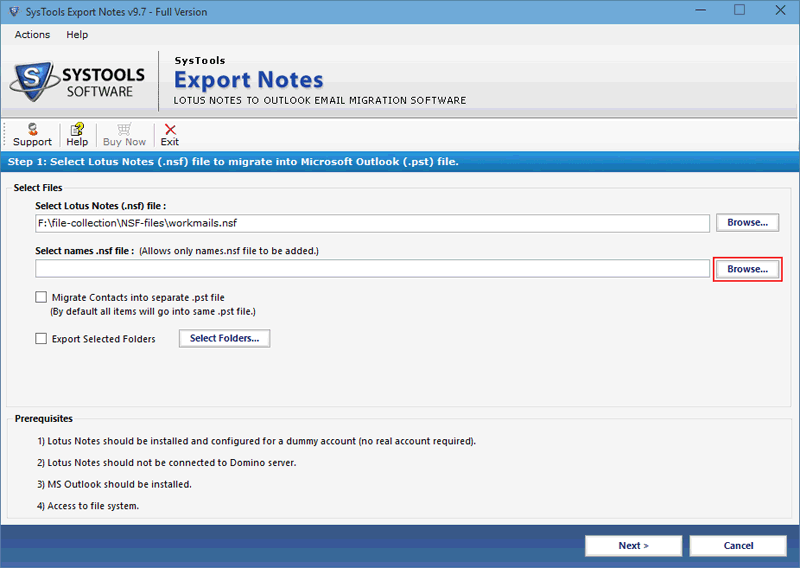
To select Names.nsf file for conversion go with second Browse option
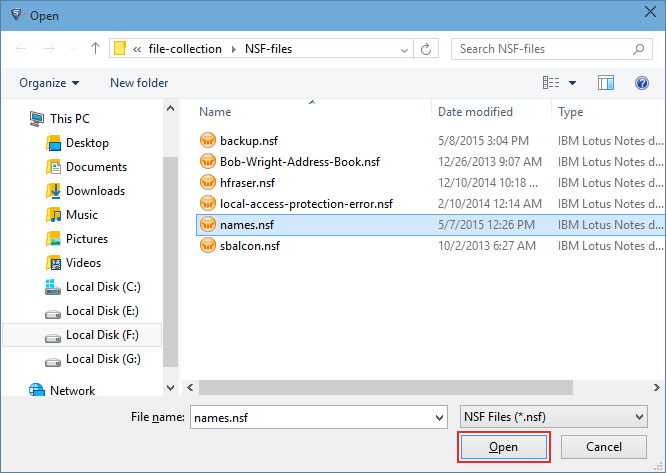
Choose the Names.nsf file and carry on with Open button
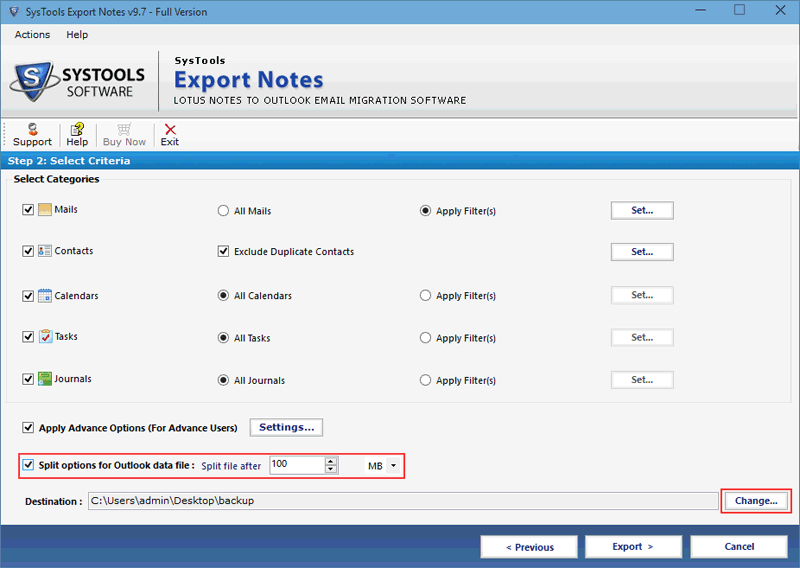
Select the option Migrate Contacts into separate PST file which stored all contacts into different PST file
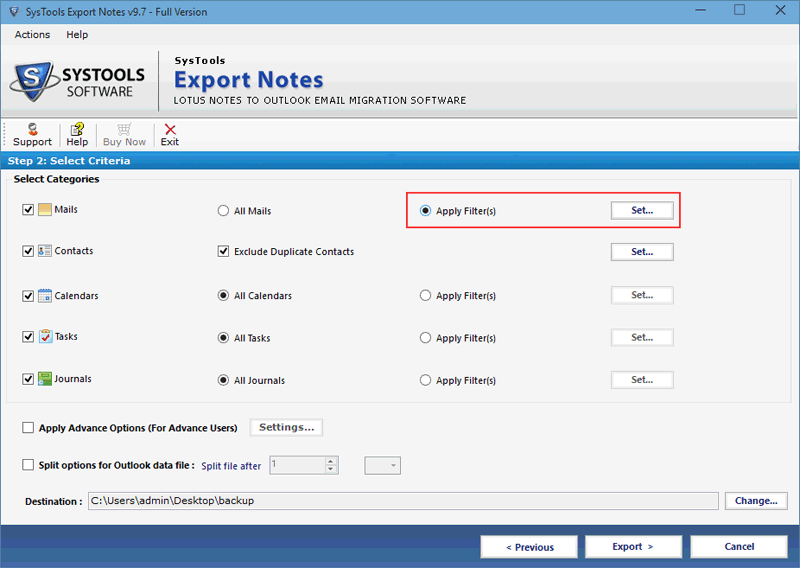
Filters are provided to migrate selected data of specific time period. Use essential filters for conversion
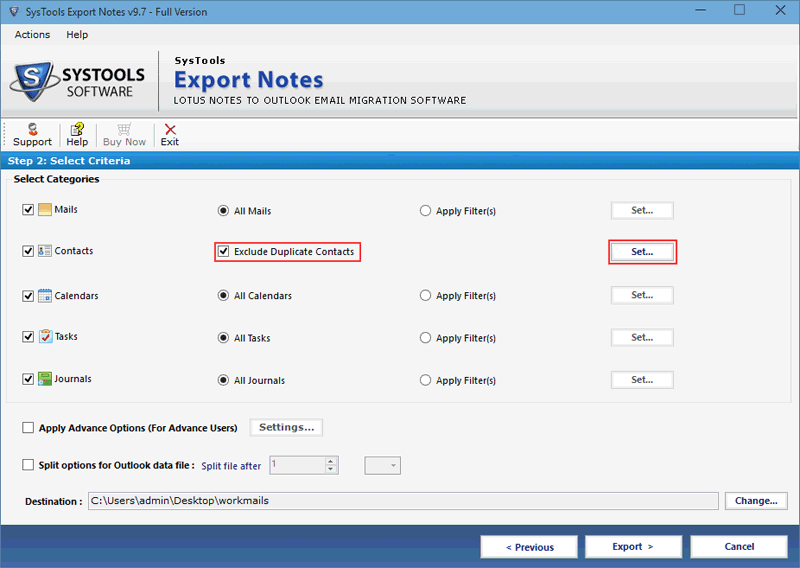
To remove replica of Names.nsf file contact check the option Exclude Duplicate Contacts
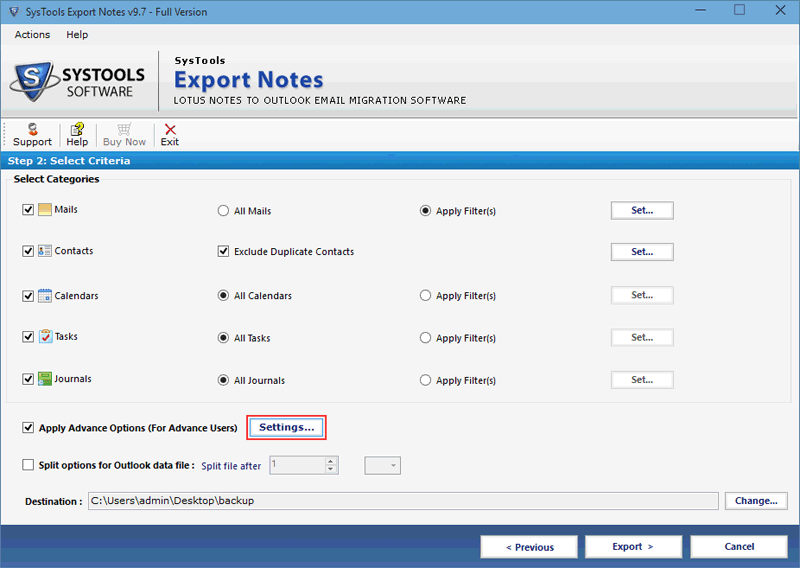
Go with Advance Settings option to use various features for specific migration
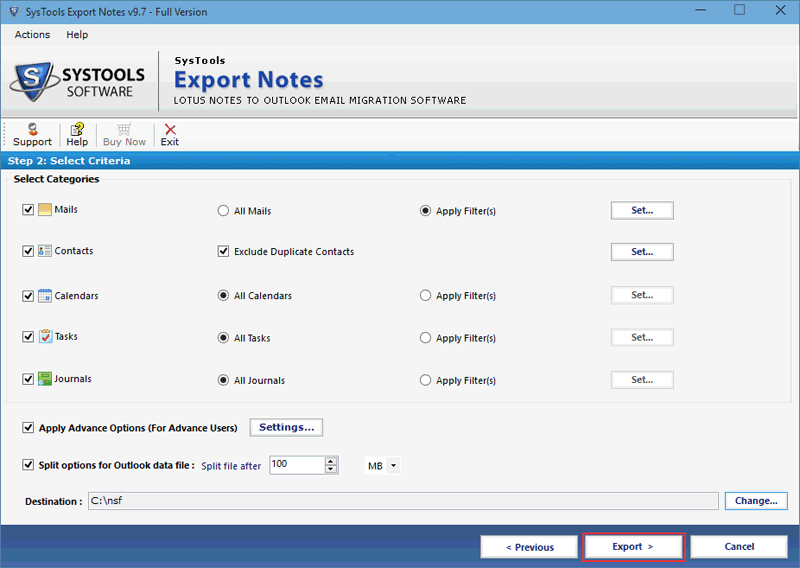
Check the box to divide PST file size as per need and for the alteration of converted file location click on Change option
After applying all setting on NSF file click on Export button
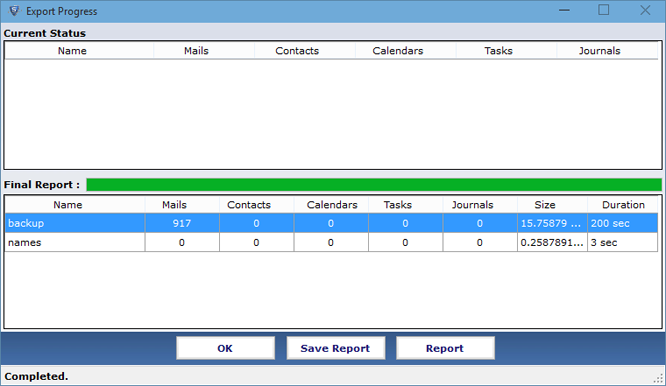
The screen displays the final conversion report of NSF file. Click OK to exit
Next Step: